What is a tiltrotator?
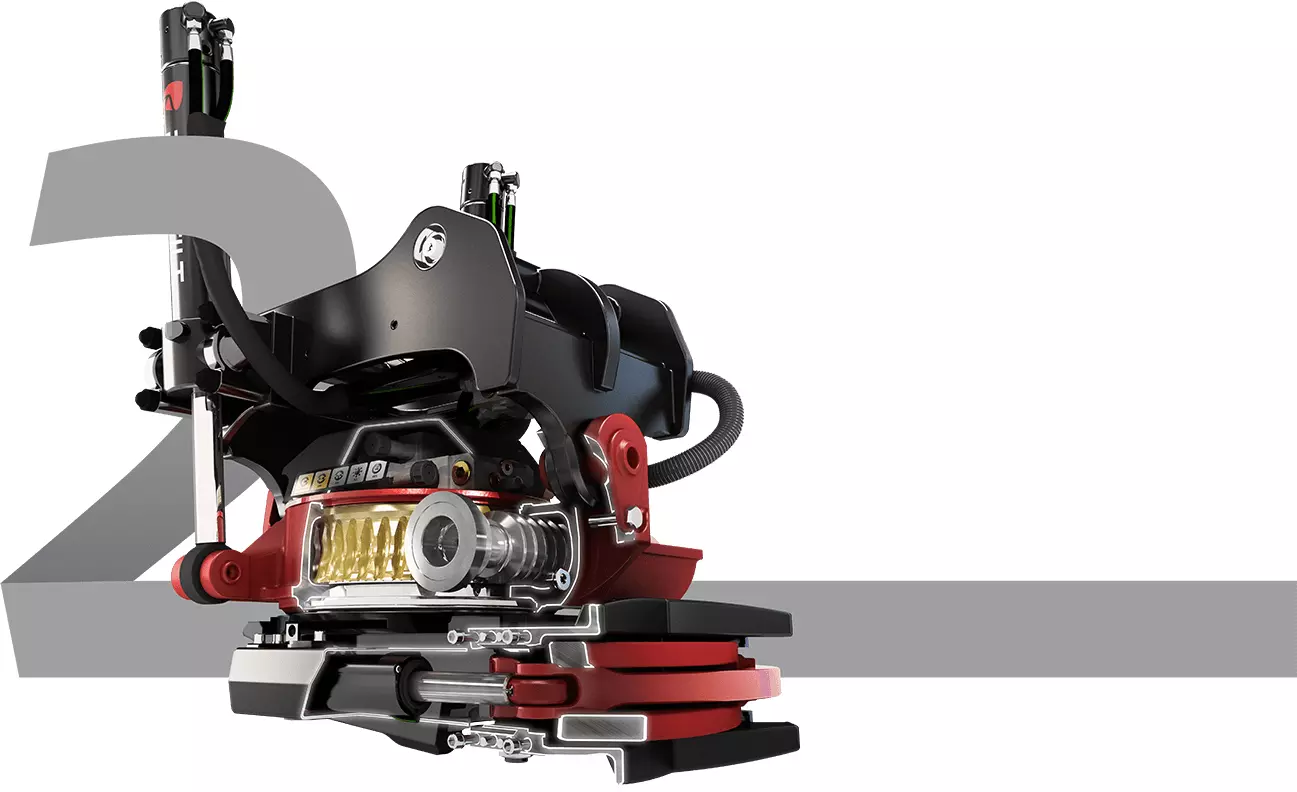
A tiltrotator is mounted between your machine coupler and your tool. This allows you to tilt the tool and rotate it 360° for easier access around, above and below, making possible a number of profitable new tasks. Read more here.
A tiltrotator is mounted between your machine coupler and your tool. This allows you to tilt the tool and rotate it 360° for easier access around, above and below, making possible a number of profitable new tasks. Read more here.
What’s the difference between a machine coupler, an attachment frame and a quick coupler?
Your machine coupler is mounted on the excavator, enabling you to switch between tools. The attachment frame is located on the top of the tiltrotator and can be connected to the machine or a machine coupler. The quick coupler is located under the tiltrotator, making it possible to use a tool that has the corresponding system.
Your machine coupler is mounted on the excavator, enabling you to switch between tools. The attachment frame is located on the top of the tiltrotator and can be connected to the machine or a machine coupler. The quick coupler is located under the tiltrotator, making it possible to use a tool that has the corresponding system.
What is a “fully automatic quick coupler system”?
We refer to our QuickChange™ technical solution as a “fully automatic quick coupler system”. It allows you to disconnect and connect tools or tiltrotators quickly and automatically without leaving your cab.
We refer to our QuickChange™ technical solution as a “fully automatic quick coupler system”. It allows you to disconnect and connect tools or tiltrotators quickly and automatically without leaving your cab.
What tightening torques apply to the bolted joint between the worm wheel and the quick coupler?
Here you will find a summary of the tightening torques for our tiltrotators. A PDF will open in a new tab.
Tightening torques R1
Tightening torques R2
Tightening torques R3
Tightening torques R4
Tightening torques R5 – R8
Here you will find a summary of the tightening torques for our tiltrotators. A PDF will open in a new tab.
Tightening torques R1
Tightening torques R2
Tightening torques R3
Tightening torques R4
Tightening torques R5 – R8
Is my tiltrotator from Rototilt® filled with oil or grease?
When we launched the RT60 tiltrotator in 1997, we switched to oil-filled rotor housings. Our research director, Richard Larker, explains more:
“Oil has special properties that are particularly beneficial for tiltrotators. Cog contact in a worm gear is characterised by significant friction, which produces heat. This heat is dissipated by the oil to the entire rotor housing, which is something that does not occur with grease.”
What oil should I use and how often should I change it?
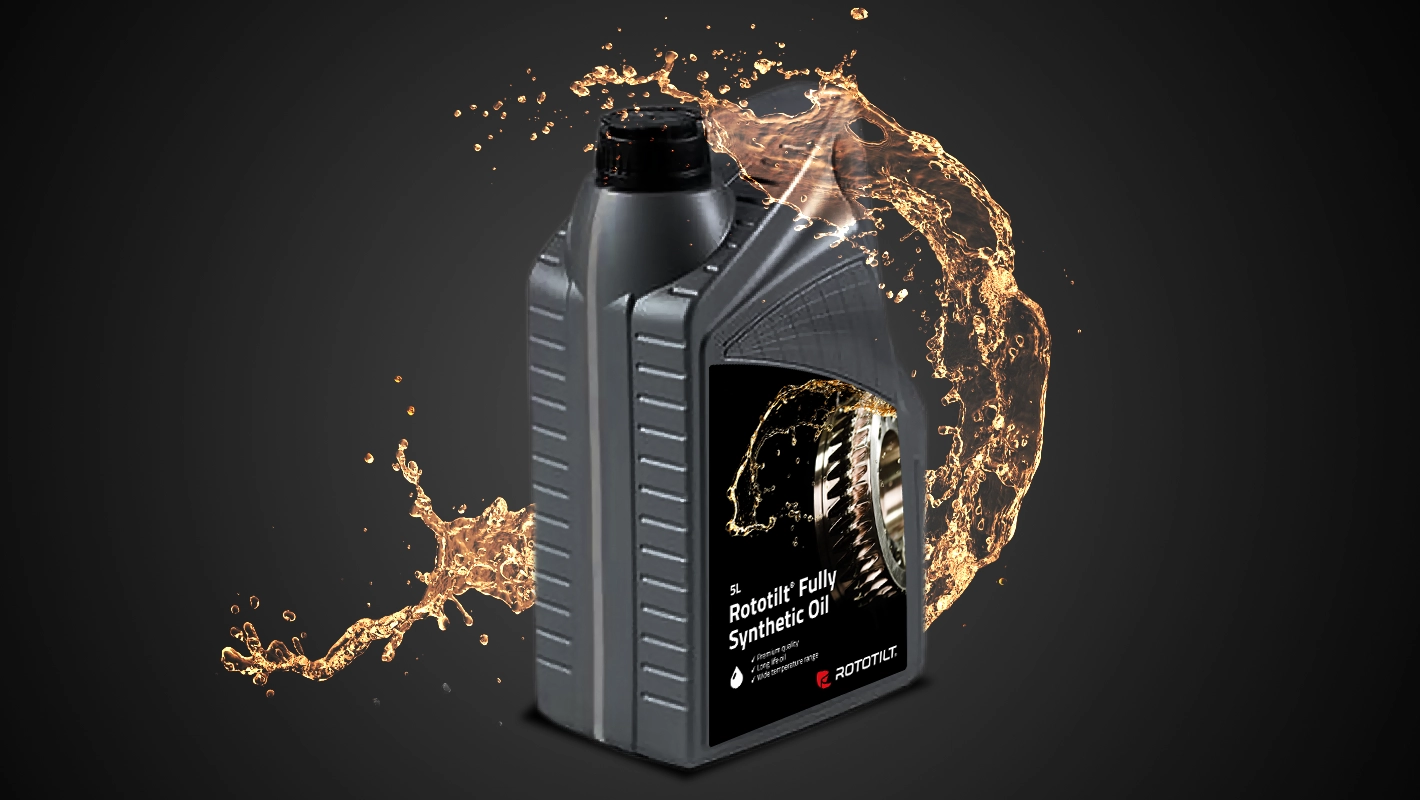
Rototilt recommends oil with part no. 5418952, which is available in 5-litre containers. The first oil change should take place at 500 hours. After that, perform oil changes every 1,000 hours.
Rototilt recommends oil with part no. 5418952, which is available in 5-litre containers. The first oil change should take place at 500 hours. After that, perform oil changes every 1,000 hours.
How often should the oil level be checked?
The oil level should be checked every 160 hours. It is checked by tilting the tiltrotator approximately 20°. The oil level should then be at the lower edge of the filler hole.
RC1 - RC9: Position the tiltrotator so that the rotor housing is levelled. Remove the level plug at the rotor side. At the correct oil level, the oil should be at the height of the filling hole.
How much oil does the rotor housing hold?
R1, RT10 = 0,2 l
R2, RT20B = 0,45 l
R3, RT30 = 1,0 l
RC4, R4, RT40B = 1,5 l
RC5, RC6, R5, R6, RT60 = 2,0 l
RC8, R8, RT80 = 3,0 l
RC9 = 4,0 l
R1, RT10 = 0,2 l
R2, RT20B = 0,45 l
R3, RT30 = 1,0 l
RC4, R4, RT40B = 1,5 l
RC5, RC6, R5, R6, RT60 = 2,0 l
RC8, R8, RT80 = 3,0 l
RC9 = 4,0 l
What colour paint should I use for my Rototilt®?
Rototilt uses a quick-drying polyurethane paint.
Colour codes RAL:
Red, 3002.
Black, 9005.
Rototilt uses a quick-drying polyurethane paint.
Colour codes RAL:
Red, 3002.
Black, 9005.
Can I use an RC series tiltrotator with the ICS™ control system?
No, it won't work.
No, it won't work.
Can I retrofit QuickChange™ to my tiltrotator?
Yes, it will be possible to retrofit QuickChange on tiltrotators in the RC series.
Yes, it will be possible to retrofit QuickChange on tiltrotators in the RC series.
Does RC™ Connect provide access to remote support if I use ICS™?
No, RC™ Connect can only be used together with RC™ System.
No, RC™ Connect can only be used together with RC™ System.
